Botanical Wall Art 101: Easy Ways to Bring Nature Indoors
If you love the feeling of being out in nature but spend most of your time indoors, botanical wall art is one of the easiest ways to bring that calm, grounded energy home. You don’t need to be “good with decor” or have a big budget. A few thoughtful prints can shift the mood of a room in a very real way.
In this guide, I’ll walk you through simple, beginner-friendly ways to decorate with botanical prints so your space feels softer, warmer, and a little closer to the outdoors.
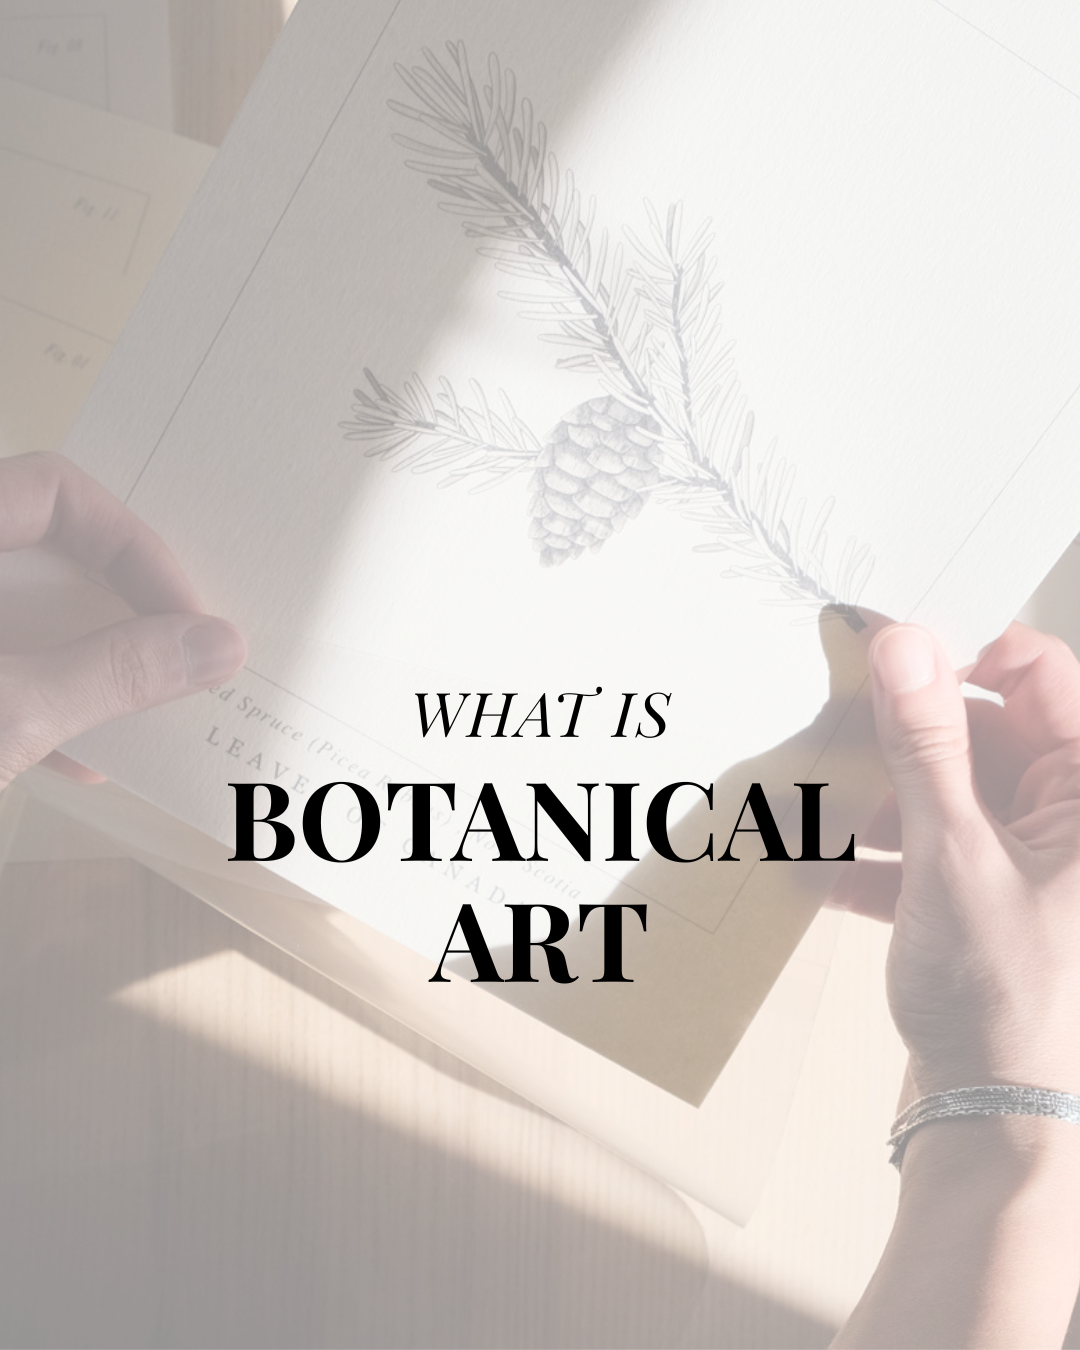
What Is Botanical Wall Art?
“Botanical wall art” is simply artwork inspired by plants: flowers, leaves, branches, seeds, and trees. It can be:
Detailed botanical illustrations
Minimal line drawings
Soft watercolor studies
Bold, graphic plant shapes
In my own work, I focus on plants and flowers found in Canada, drawn with quiet detail and printed on archival paper so they last for years. But the idea is always the same: art that celebrates the natural world and brings that feeling into your home.
Why Bring Nature Indoors?
We’re all spending more time inside, on screens, and under artificial light. Adding nature-inspired artwork helps to:
Soften hard surfaces and straight lines
Create a sense of calm and slowness
Add warmth and colour without overwhelming the space
Remind you of places you love: forests, gardens, lakes, wild meadows
You don’t need a full jungle of plants. Sometimes one well-chosen botanical print is enough to change the atmosphere of a room.
Easy Ways to Decorate with Botanical Wall Art
1. Start with One “Anchor” Piece
If you feel overwhelmed, start with one print you truly love and let it become an anchor.
Choose a piece that reflects the mood you want: calm, bright, wild, cozy.
Hang it where your eyes land first: above a dresser, near your desk, or by the dining table.
Let your textiles and accessories echo one or two colours from the art (a throw, a cushion, a candle).
Once the anchor is up, adding more pieces feels much easier.
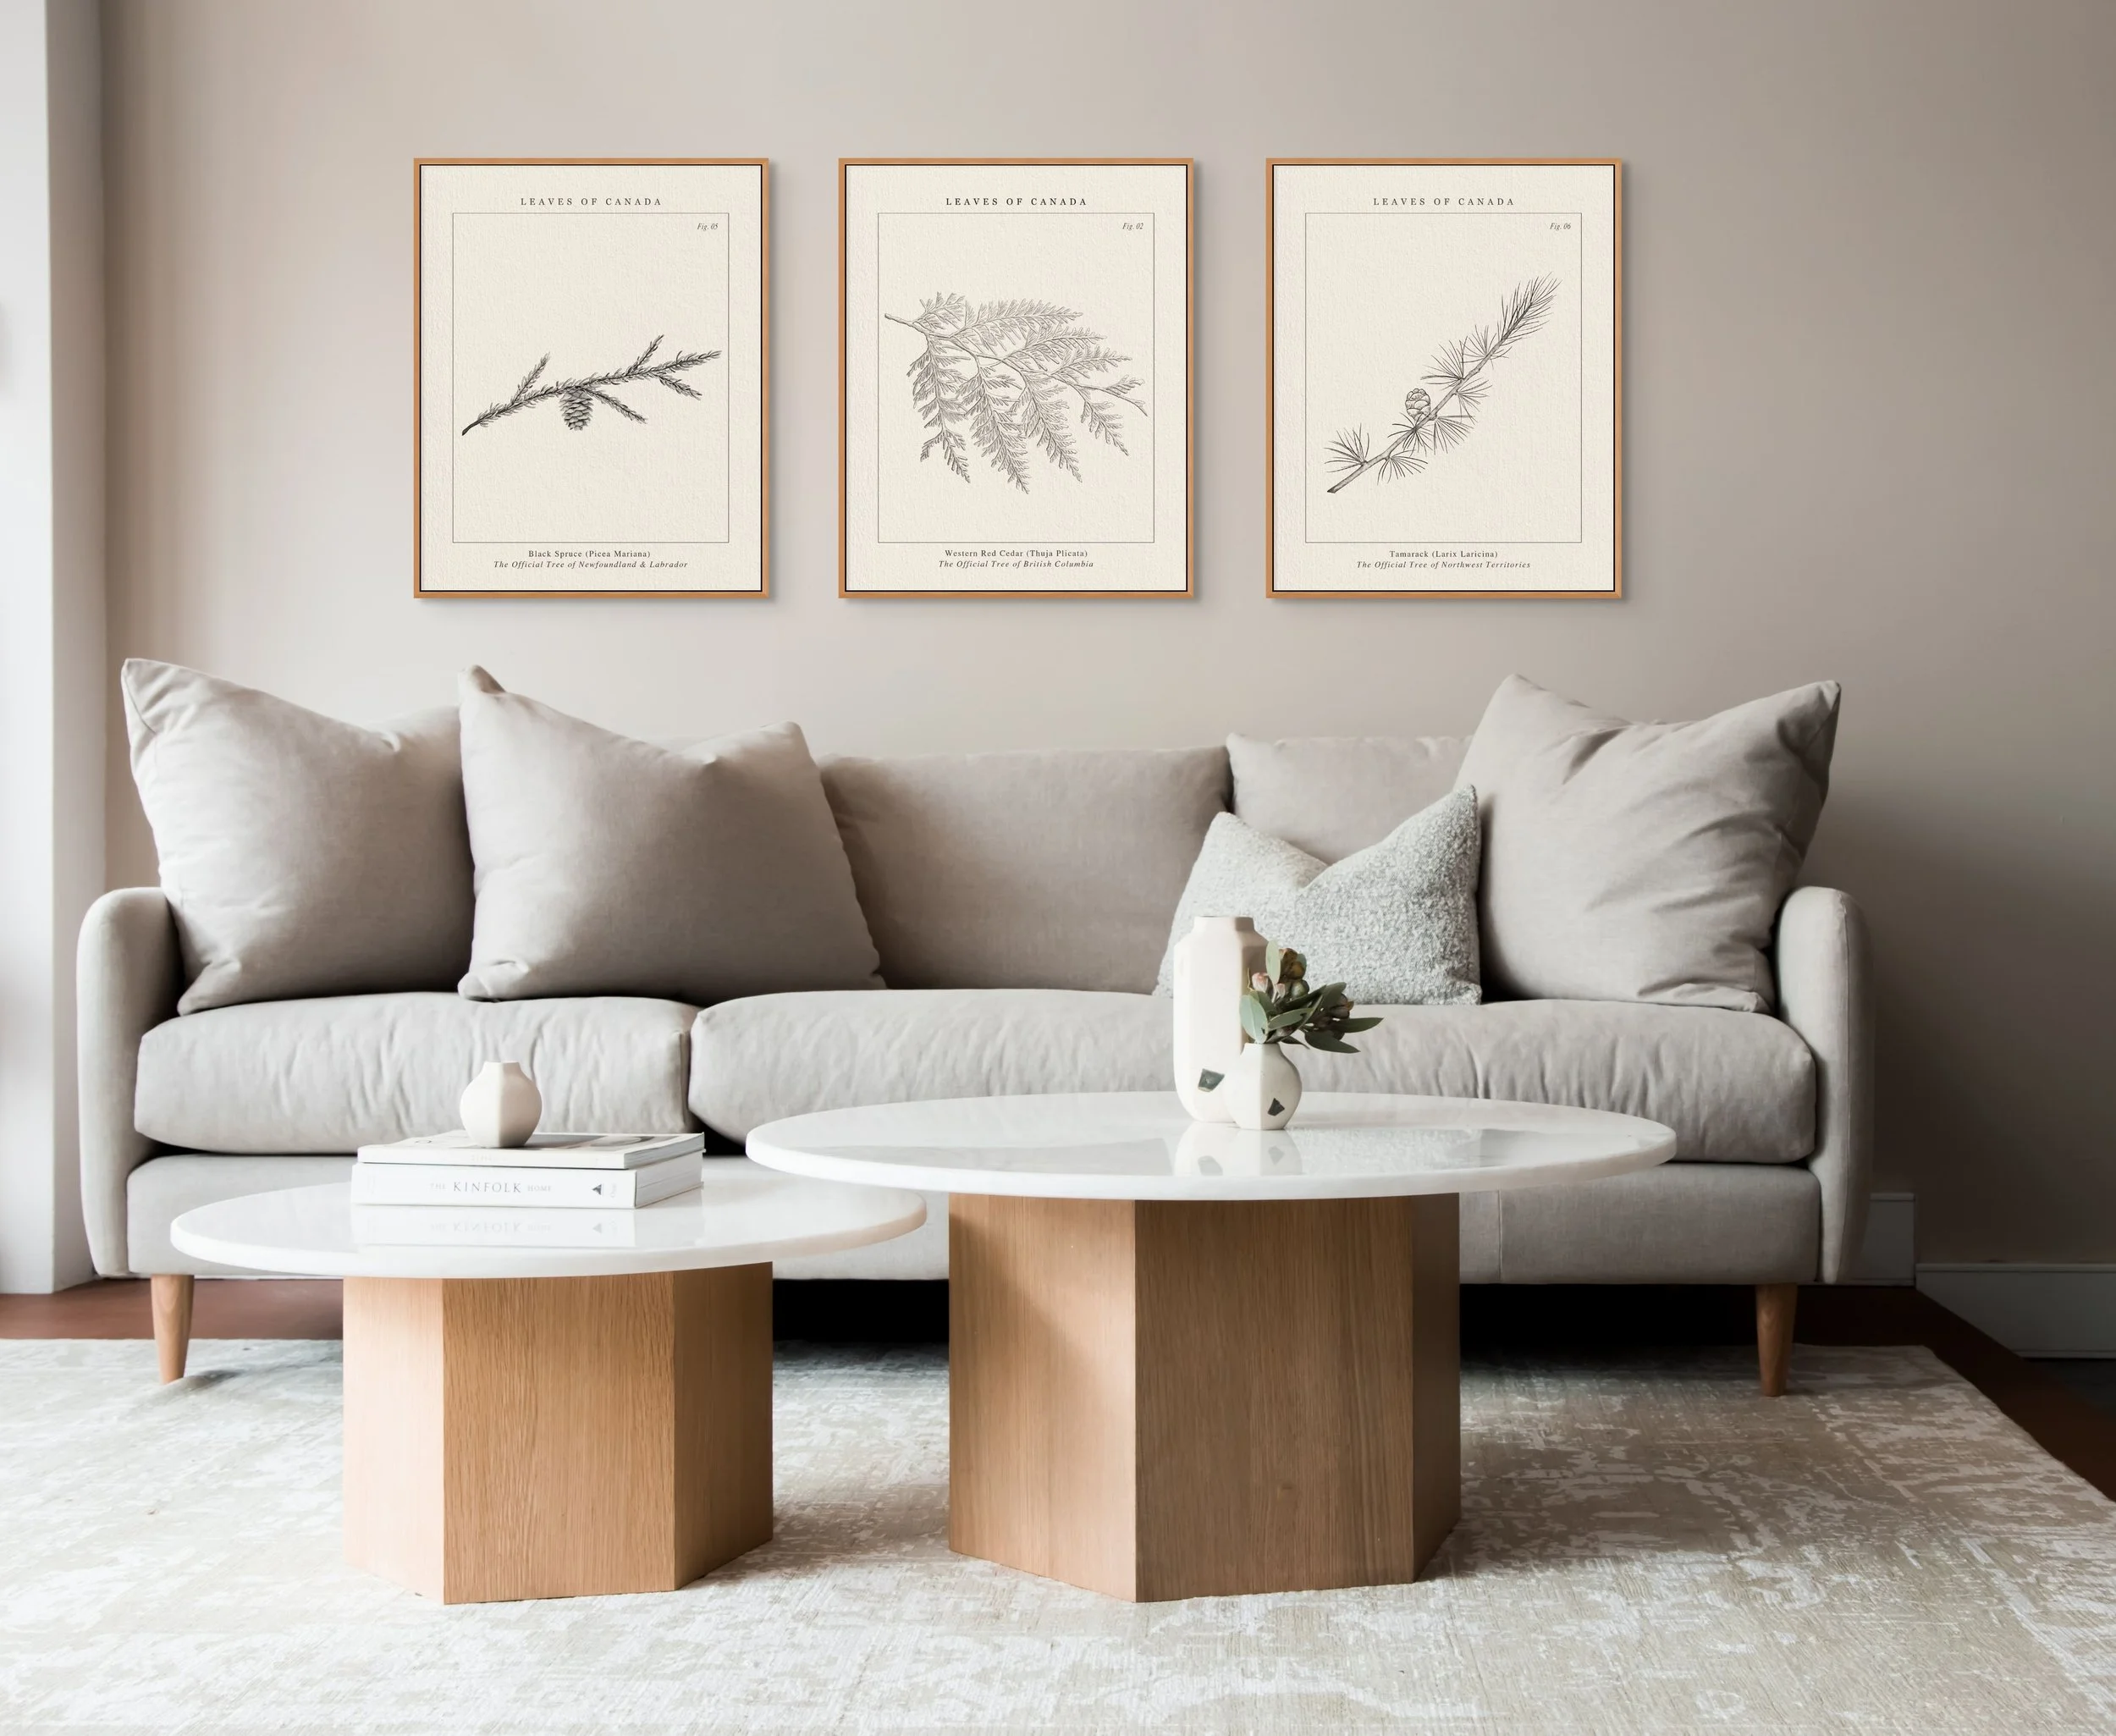
2. Pair Prints with Real Plants and Natural Materials
Botanical art looks especially beautiful when it’s surrounded by natural textures.
Try pairing your prints with:
Live plants or branches – even one small plant on a shelf under a print works.
Natural materials – wood frames, linen tablecloths, woven baskets, ceramic vases.
Soft textiles – throws and cushions in earthy tones: moss green, clay, sand, off-white.
This “echoes” the subject of the artwork and creates a calm, cohesive corner.
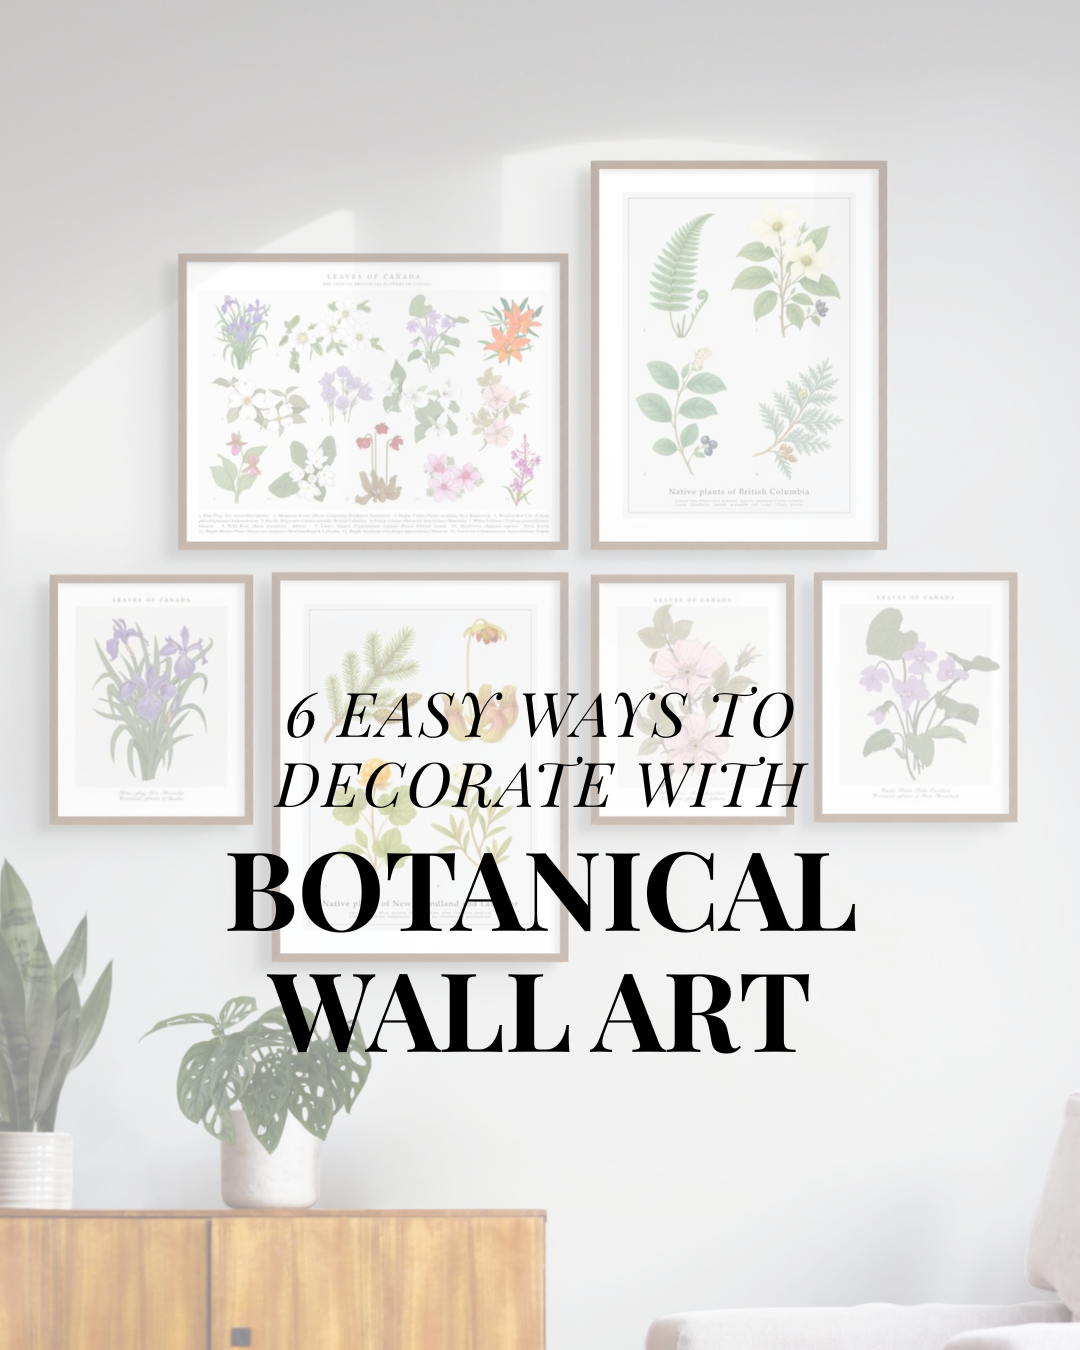
3. Create a Small Botanical Gallery Wall
A gallery wall doesn’t have to be complicated or huge. Start small:
Choose 3–5 prints with a common thread:
a colour family (greens + neutrals)
a theme (wildflowers, leaves, branches)
Mix one larger piece with a couple of smaller ones.
Lay them out on the floor first to find an arrangement you like.
Keep the spacing between frames similar so it looks intentional.
Hang your mini gallery above a sofa, bed, console table, or even in a hallway to turn a forgotten wall into something special.

4. Use Art to Transform Small or Awkward Spaces
Botanical prints are perfect for those in-between spots that feel a bit empty:
Beside a wardrobe
At the end of a hallway
Above a hook rail where you hang coats or bags
In a bathroom or entry, if humidity allows
One or two small prints can make these “nothing” areas feel designed and welcoming instead of forgotten.
5. Refresh Your Space Seasonally (Without Repainting)
If you like your home to change with the seasons, rotating a few prints is much easier than repainting walls.
You could try:
Spring/Summer: light, airy florals, fresh greens, blossoms and new growth
Autumn/Winter: branches, seed pods, evergreens, deeper colours and quieter compositions
Store the off-season prints flat in a protective sleeve or portfolio and swap them out when the light and mood shift.
6. Simple Tips for Renters (No Drilling Required)
If you’re renting or don’t want to damage your walls, you still have options:
Use removable picture hanging strips instead of nails.
Lean framed art on shelves, dressers, or mantels.
Create a mini “art ledge” with a narrow shelf and rotate your prints whenever you like.
This way, you can have a home that feels personal and intentional, even if it’s temporary.
Final Thoughts: Start Small, Follow What You Love
The most important rule with botanical wall art is simple: choose pieces you genuinely feel drawn to.
You don’t need a perfect plan or a full set of matching frames. Start with one plant or flower that feels like you. Build slowly. Let your walls grow like a garden—one thoughtful piece at a time.
If you’d like to explore nature-inspired prints, you can browse my collection of botanical art [link to your shop/category]. Each piece is created from my original artwork and printed on archival paper so it can live with you for years.